
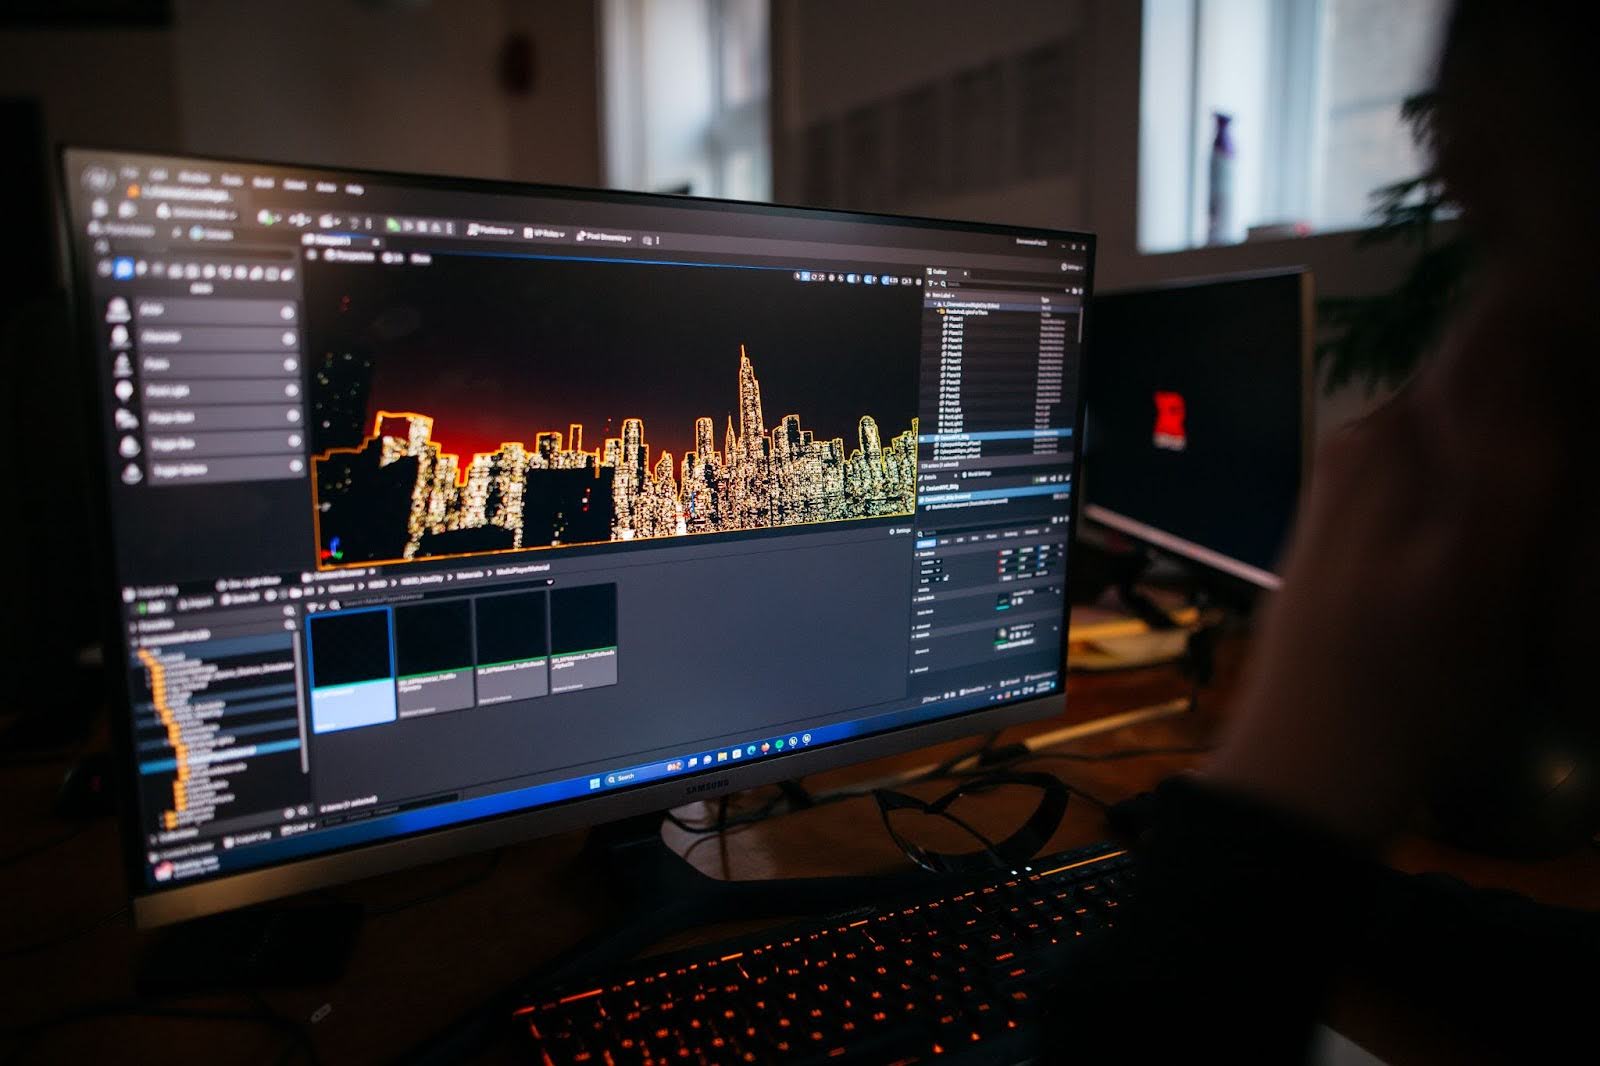

In-camera visual effects (ICVFX) virtual production would not be possible without optimization.
Optimization is one of those things that often gets looked over when you’re working on a project for virtual production because it’s not the fun, creative side. However, it is essential because it’s what ensures the project is able to run in real time on your LED wall. If your project isn’t running in real-time, you can’t create parallax, and you can’t create the magic of ICVFX.
What is optimization?
Optimization is essentially making sure your environment is running at an optimal frame rate for your project. You should aim for about double the fps you’ll be shooting your camera at (e.g., aim for 50-60 fps on the environment if you’re planning to shoot at 24 fps).
You can check what frame rate your environment is running at directly in Unreal Engine (CTRL + SHIFT + H).
What slows an environment down?
As a general rule, anything that requires complex calculations and extra rendering power will slow your project down. This includes things like water systems, fire, smoke, particle systems, lighting systems, and objects with complex geometry.
The art of optimization lies in creatively figuring out how to fit these assets into the environment in a way that takes up less rendering power. It also lies in being able to prioritize which assets should take up more processing power. For example, assets that are at the forefront of a scene should be given priority.
It’s also important to keep in mind that optimizing for virtual production is different from optimizing for other things. Techniques that would work for things like game design, such as Level of Detail (LOD) Optimization, wouldn’t work in the same way for virtual production.
How do you identify what’s slowing your environment down?
Unreal Engine has various Optimization Viewmodes built into the platform to help you quickly identify which assets are slowing your environment down. These view modes include:
- Light Complexity
- Lightmap Density
- Stationary Light Overlap
- Shader Complexity
- Shader Complexity & Quads
- Quad Overdraw
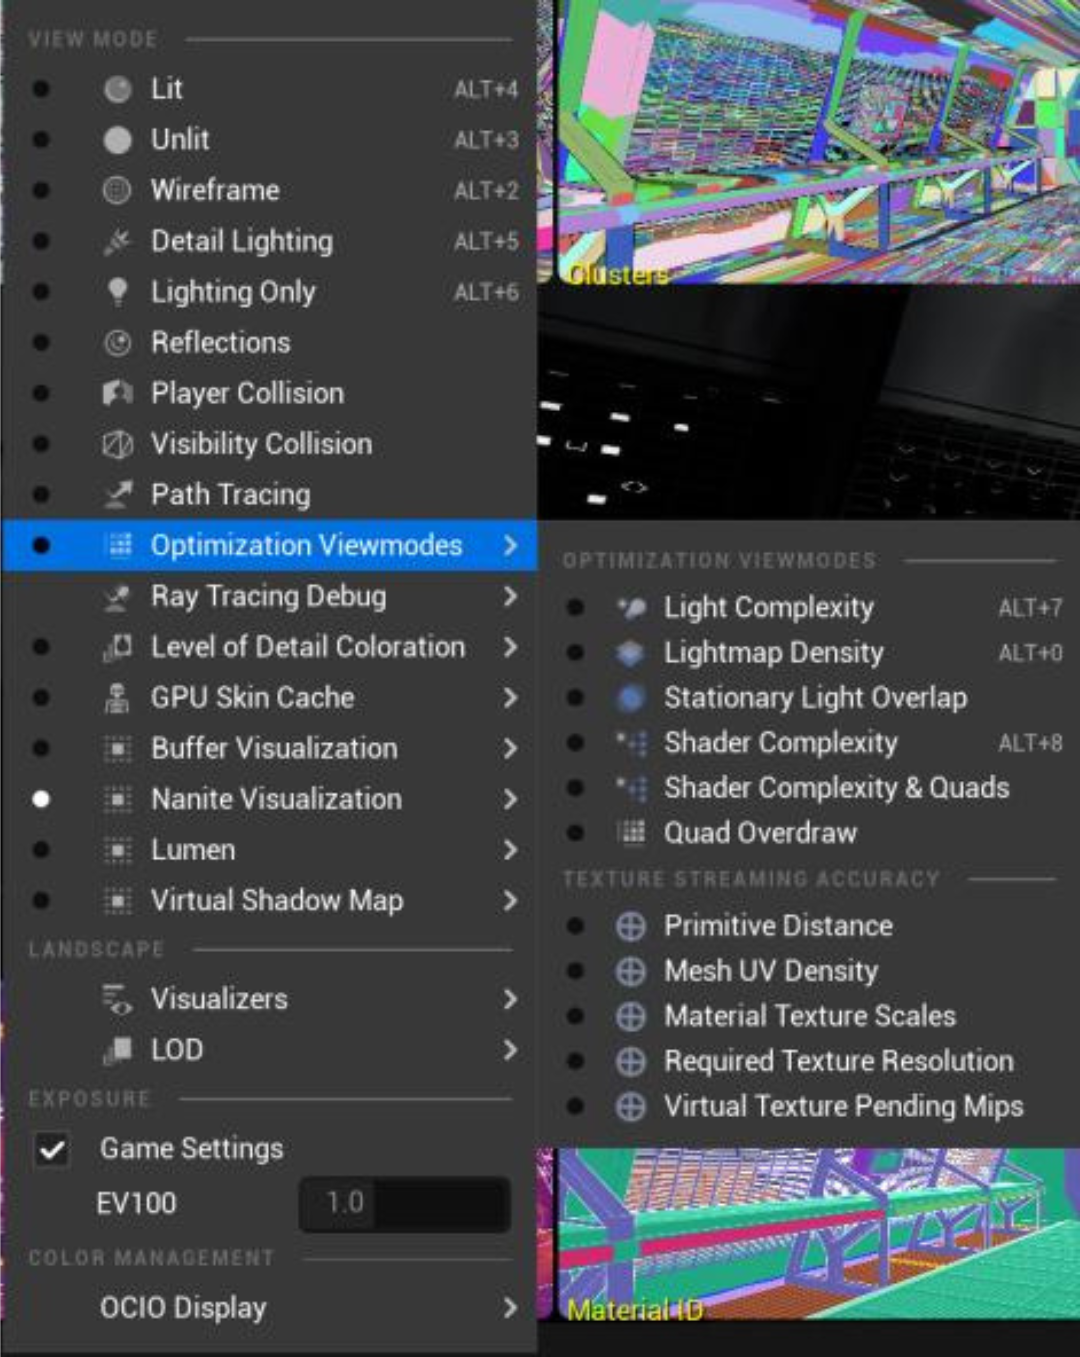
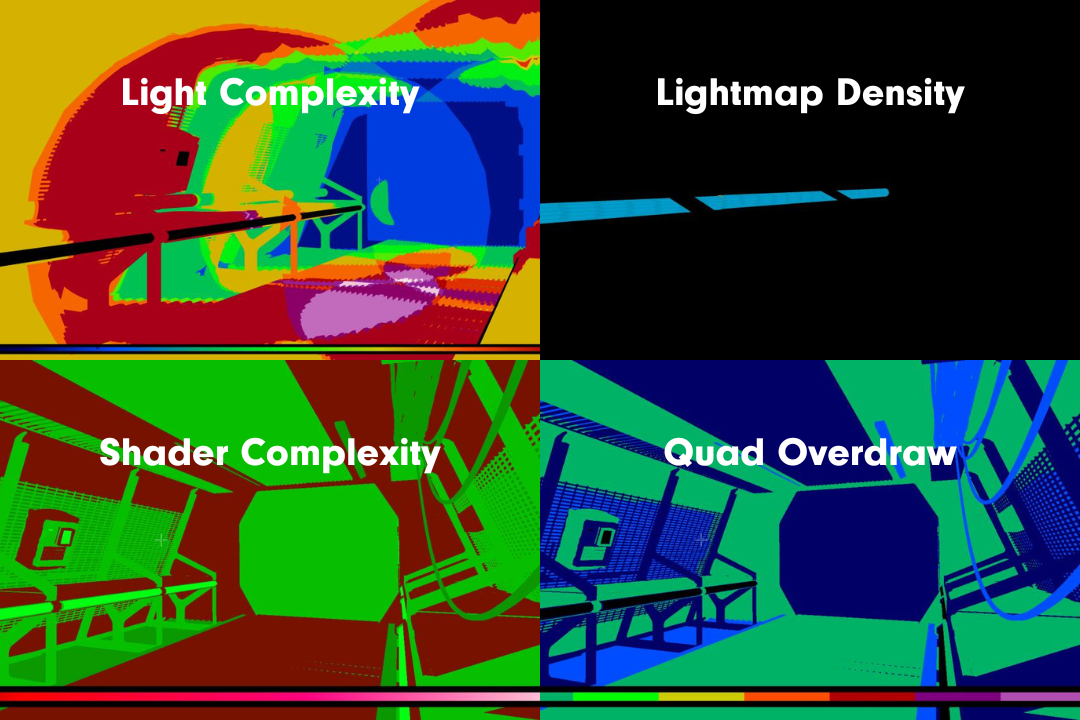
Each of these view modes use colour mapping to highlight which assets aren’t optimized.
While optimization view modes can help towards the later end of pre-production, catching these things early on will be key to speeding up your workflow. The more you work in virtual production with a VAD team, the easier it’ll be for you to identify what might slow an environment down and implement creative solutions from the get-go, rather than having to fix things after.
What if you don’t have time to optimize?
Sometimes you’re in a time crunch and need to get an environment running on a wall immediately. As a last resort, you can turn down the screen percentage outside the frustum by adjusting the Viewport Screen Percentage Multiplier in nDisplay’s Rendering Details panel.

We generally don't recommend this as it's only a band-aid solution to your optimization problems and any tweaking of your nDisplay configuration at runtime could have unexpected impacts on what is being delivered to your LED wall.
___________________________________________
People can optimize for virtual production in many different ways, but coming from a filmmaking background, our team at CoPilot Co. focuses on what the frame can see.
If you’re interested in upskilling your production team for virtual production, we offer intensive training plans to help your team get up to speed. Shoot us a message here: consulting@copilotco.io
Related reads

.jpg)


